Flowerpot drawing and pencil shading tutorial part -3
Hello friends, here I have brought to you another easy-peasy tutorial of drawing and shading of a flowerpot. This tutorial will give you an easy and a step-by-step idea to draw as well as shade a sketch of a flower pot. Using this tutorial, you can discover the artist in you.
Required materials -
- Paper
- Scale
- Compass or circuler object(like cork)
- Pencil
- Sharpner
- Eraser
- Cotton earbuds
- Paper clipboard
First, attach a piece of paper with clip to the clipboard and sharp the tip of pencil after that follow these steps.
Step - 1 Draw a circle
First, draw a circle with the help of compass or any disc-shaped object (like a coin or a cork, etc.).
After drawing the circle, remove a small arc form the top of the circle.
Step - 2 Draw top and base
Now draw an ellipse in place of that removed arc in such a way that the vartices of the ellipse are connected to the two ends of the remaining circular arc as shown in the follwing picture-
To draw the base, first draw a downward semi-circle at the bottom of the pot in such a way that the cneter of three objects ( main circle, ellipse, and semi-circle) lie on a same vertical line. After doing this, remove the arc of the semi-circle that is in the main circle and draw the diameter line of the semi-circle as shown in the picture below-
Step - 3 Draw branches
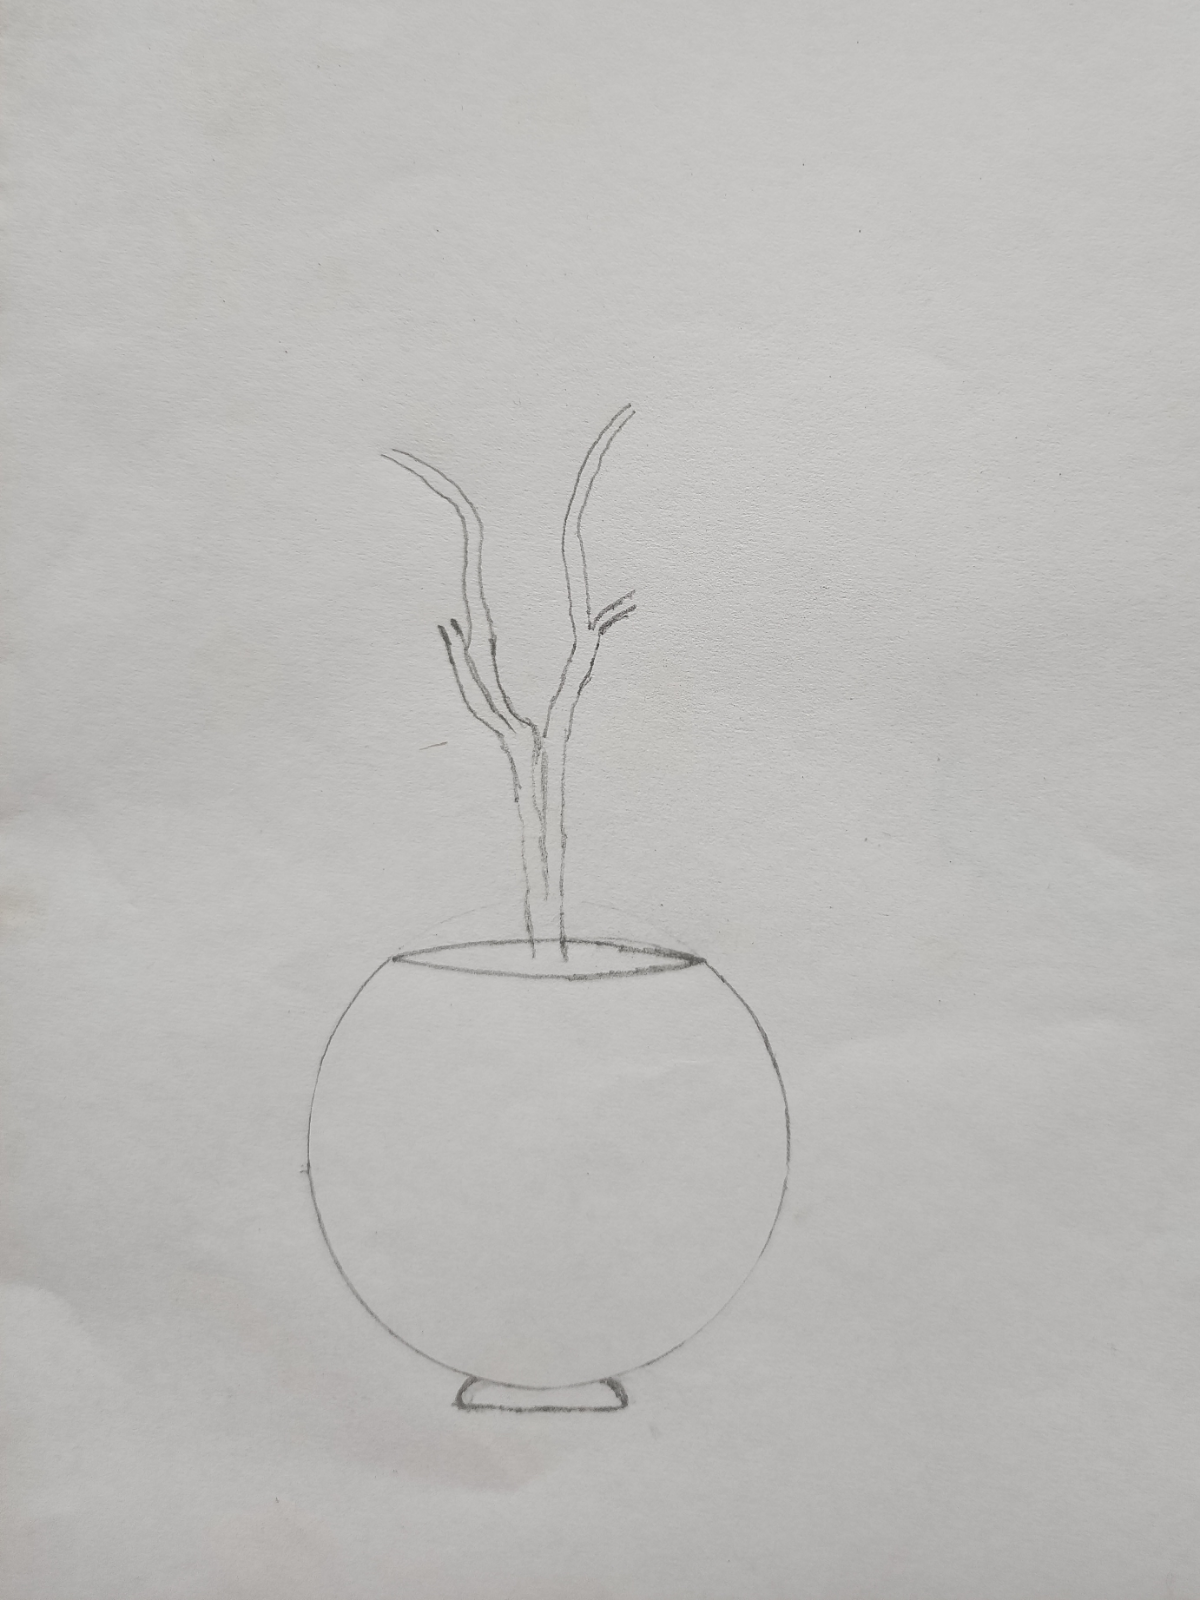
Now to draw branches, first draw two lines opening as moving upward by free hand (without putting pressure on hand or pencil), and draw to two other lines near them as depicted in the follwing picture-
Step - 4 Draw leaves
Draw leaves at the ends of the branches ( here I have drawn four branches, so I am only drawing four leaves in some random direction however you can draw as many you want) as shown in the picture given below-
Now we have the outline of the flower pot.
Step - 5 Shade the pot (roughly)
To shade the pot, first shade the elliptical area with medium shading.After that decide form where the light is coming (here I have assumed that the light is coming from a direction such that it falls on the top left part of the pot ). Since light is falling on the top left part of the pot, this part will look brighter as campare to other areas of the pot, and the opposite side will look the darkest. In this step, only draw the rough shades of some dark areas as illustrated in the following picture-
Step - 6 Shade the pot (Final touch-up)
To give a smooth shade to the pot, use a cotton bud, and shade the pot in such a way that the bottom to top-right eadges look darkest and the top-left area look brighest as shown in the picture below-
Step - 7 Filling the leaves
In this step, first make the right-outline of the branches bold. Then draw some lines in leaves that depict veins. Shade the leaves with mideum shading.
Step - 8 Shade the leaves
To give some realistic effect, shade the small random areas of the leaves with dark shading just like shown in the following picture-
Step - 9 Final touch-up
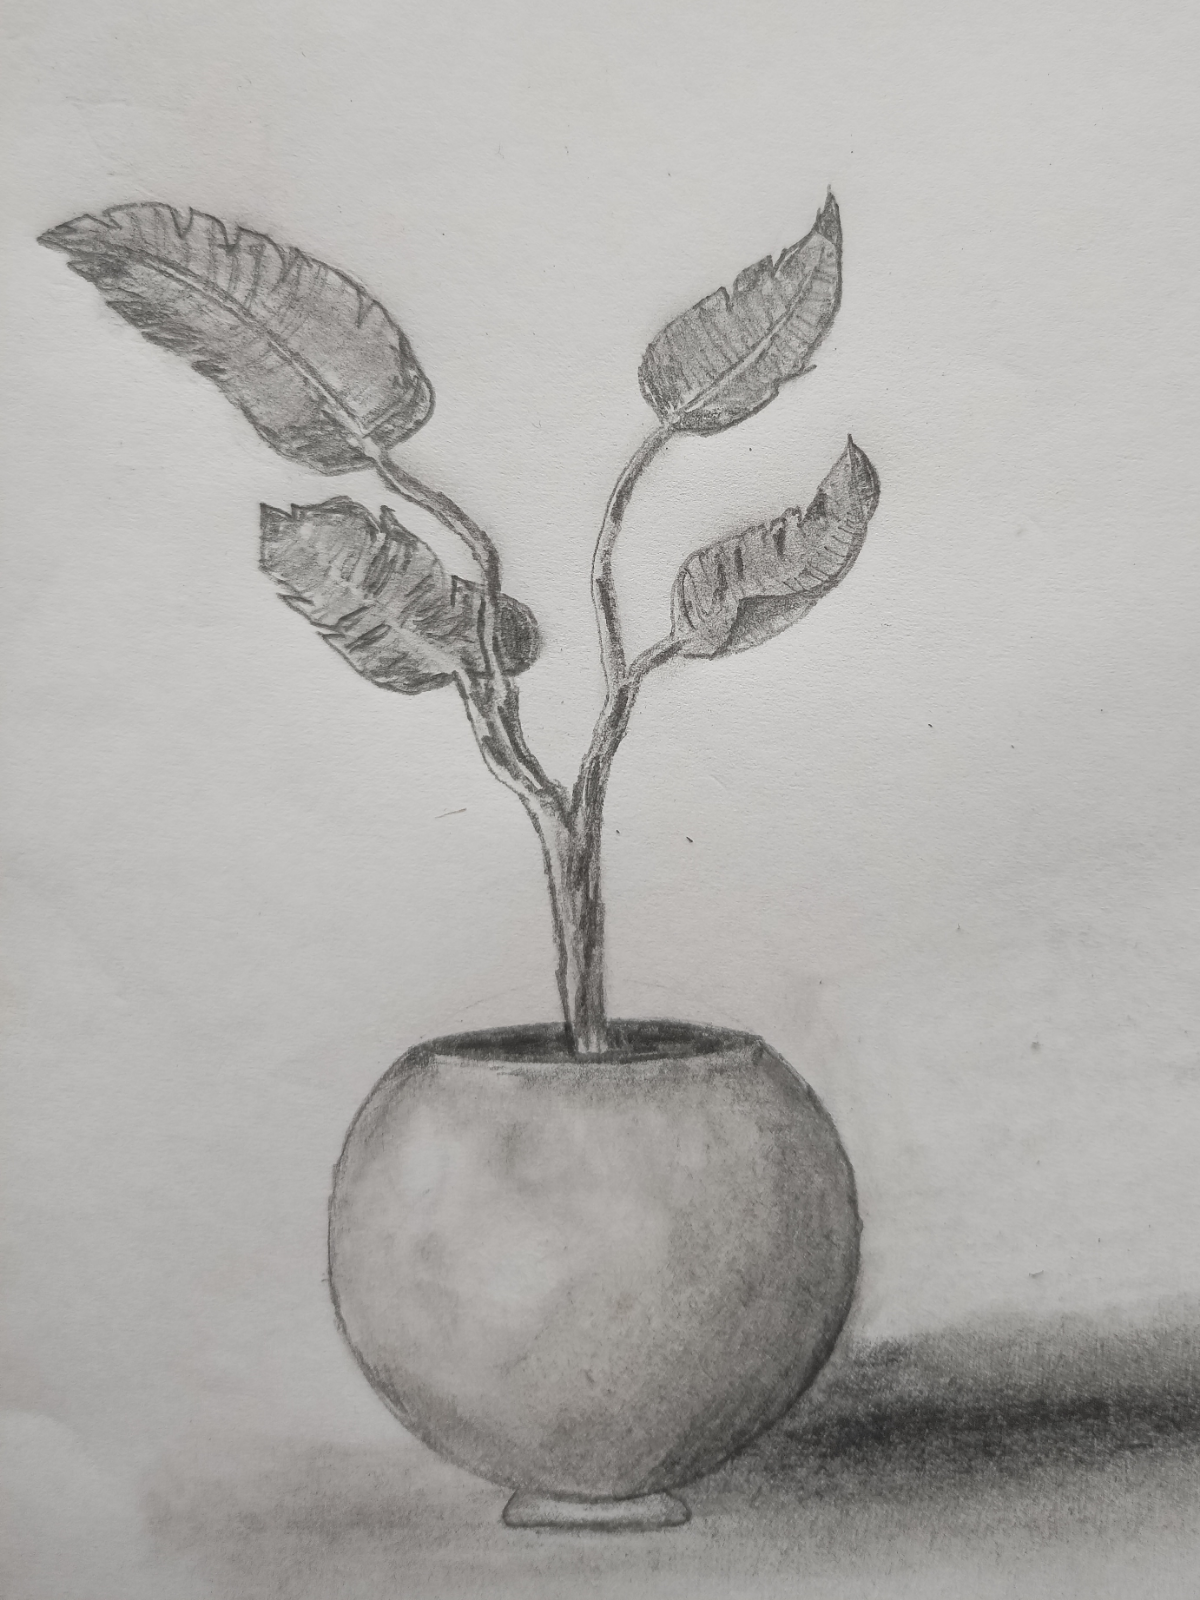
To give this sketch it’s final touch-up, first shade the leaves smoothly using a cotton bud, persreving the darkness of the darker areas, then shade the branches. After that, draw the shadow of the flower pot by darkening the shading near the pot and reducing the darkness as it shades farther from the pot. In addition that, shade the base appropriatly. The final sketch will look like-
You can also refer to the picture below for a visual representation of all the steps-
Congratulations! the sleeping artist within you has now come alive.
Let us know what you think in the commentbox.


I recently came upon your blog and wanted to express how much I liked reading your postings about Girlfriend gift delivery. I'm hoping you'll write again soon. Thank you very much for the excellent information.
ReplyDeleteThank you so much.
ReplyDelete