Home
»
Butterfly Drawing
|
Insect Drawing
|
Pencil Art
|
»
How to draw sketch of a beautiful butterfly (Tutorial part -2)
Side view Sketch of a beautiful butterfly
Hello friends,We will learn how to draw a butterfly sketch in this tutorial. I hope you will thoroughly enjoy this tutorial on butterfly sketch, which provides useful information, an interesting method of sketching, and step-by-step instructions.
Required materials -
- Paper
- Pencil
- Sharpner
- Eraser
- Cotton earbuds
- Paper clipboard
Attach a piece of paper to a clipboard, sharpen the pencil tip, and then go through these steps.
Step-1 Make the body
First, draw a small circle to make the butterfly's head. Next, make the thorax by drawing an inclined ellipse with one end connected to the bottom of the circle. Finally, make the belly by drawing another inclined ellipse on the bottom of the previous ellipse. In all shapes, the centre should lie on an axis.
Step-2 Make antenna and eyes
To make antennae, draw two straight lines from the head of the butterfly and make the other end of the lines into a spiral shape.Now to make the eye, draw a small circle inside the circular head shape of the butterfly.
Step-3/4 Draw outer shape of wings
To make the outer shape of the wings, draw the mirror image of digit 3 at the left side of the body of the butterfly. Now again make a similar shape below it as depicted in the picture.
Step-5 Join the outer shape of wings the body
Now join the upper and lower ends of the mirror image number 3 to the thorax and belly of the butterfly, as shown in the picture below.
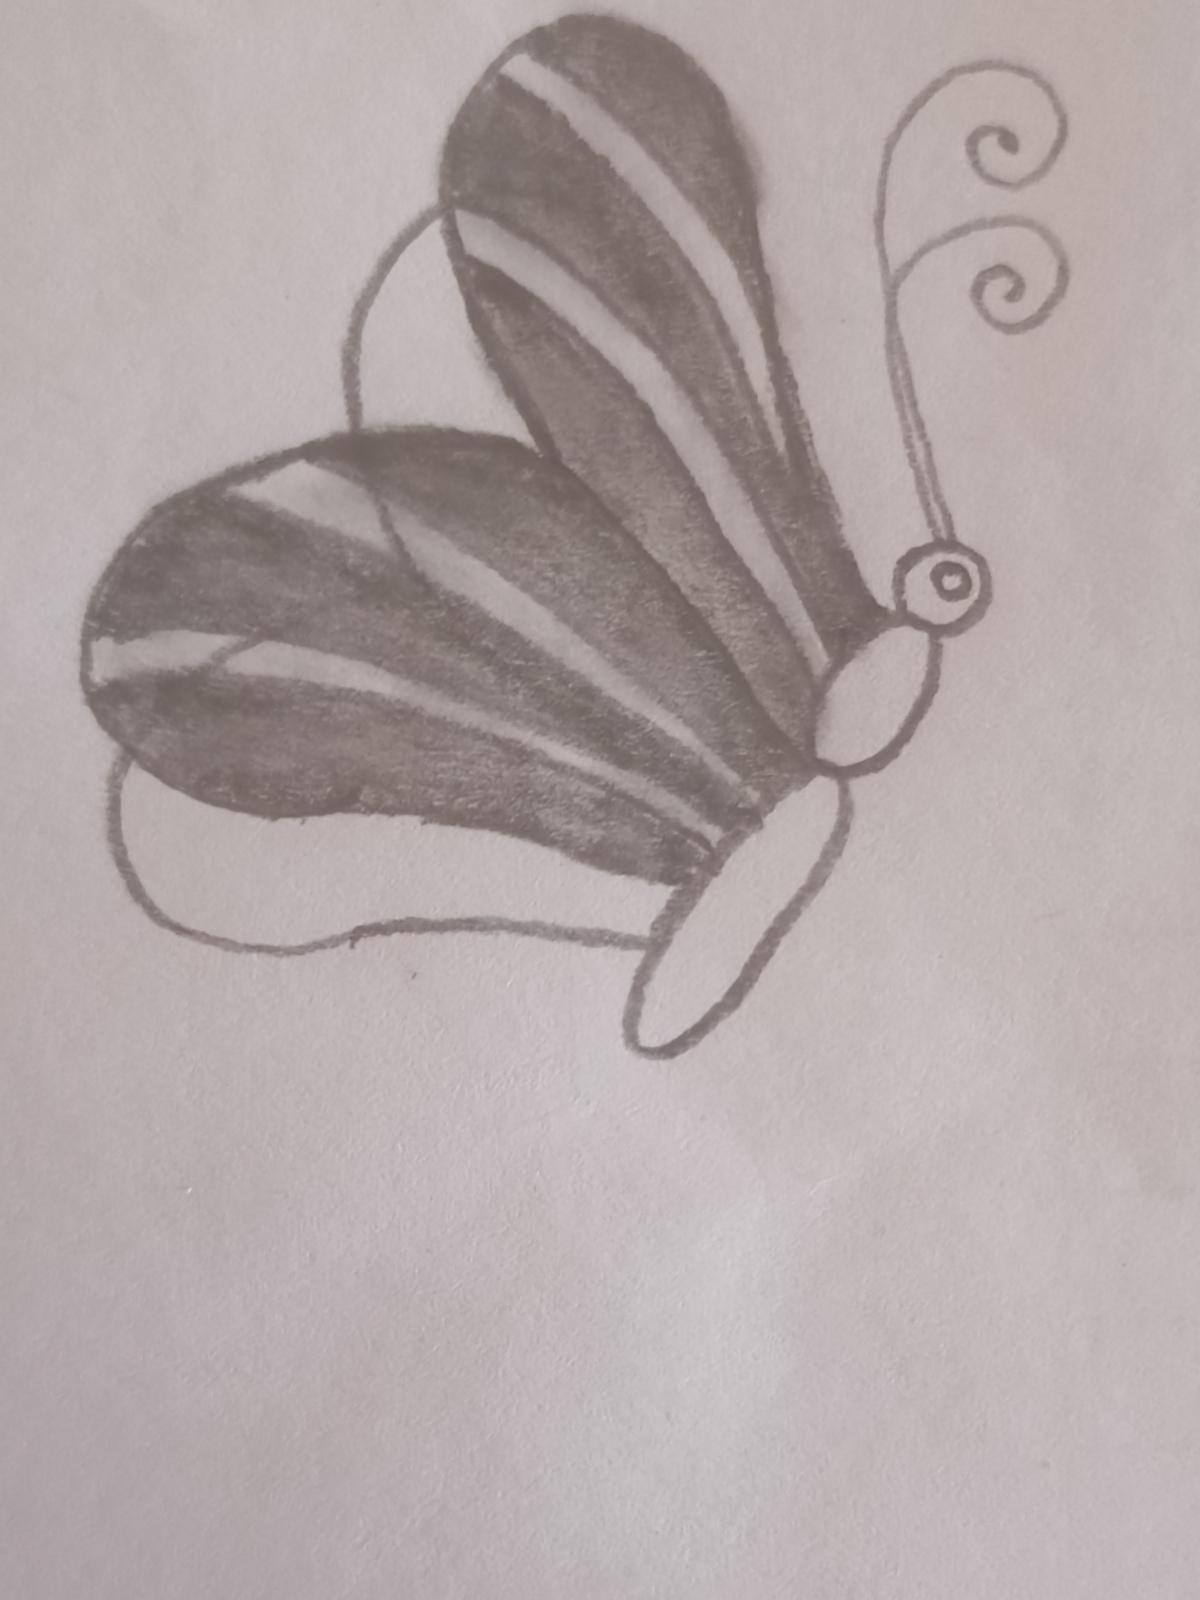
Step-6 Decorate the front viewing wing
To decorate the visible front side of the forewing and hindwing, draw group of two parallel arcs two times in both forewing and Hindwing. hindwing, draw two parallel arcs.Aslo connect the centre tip point of mirror image of digit 3 to the point where thorax is connected to belly.
Step-7 Make Darken the wing
Darken the space except the space between the parallel arcs as shown in picture below.
Step-8 Shade the wing
Now shade the wing areas by using cotton earbuds. The wing's white area should appear transparent.
Step-9 Decorate the rear facing wing.
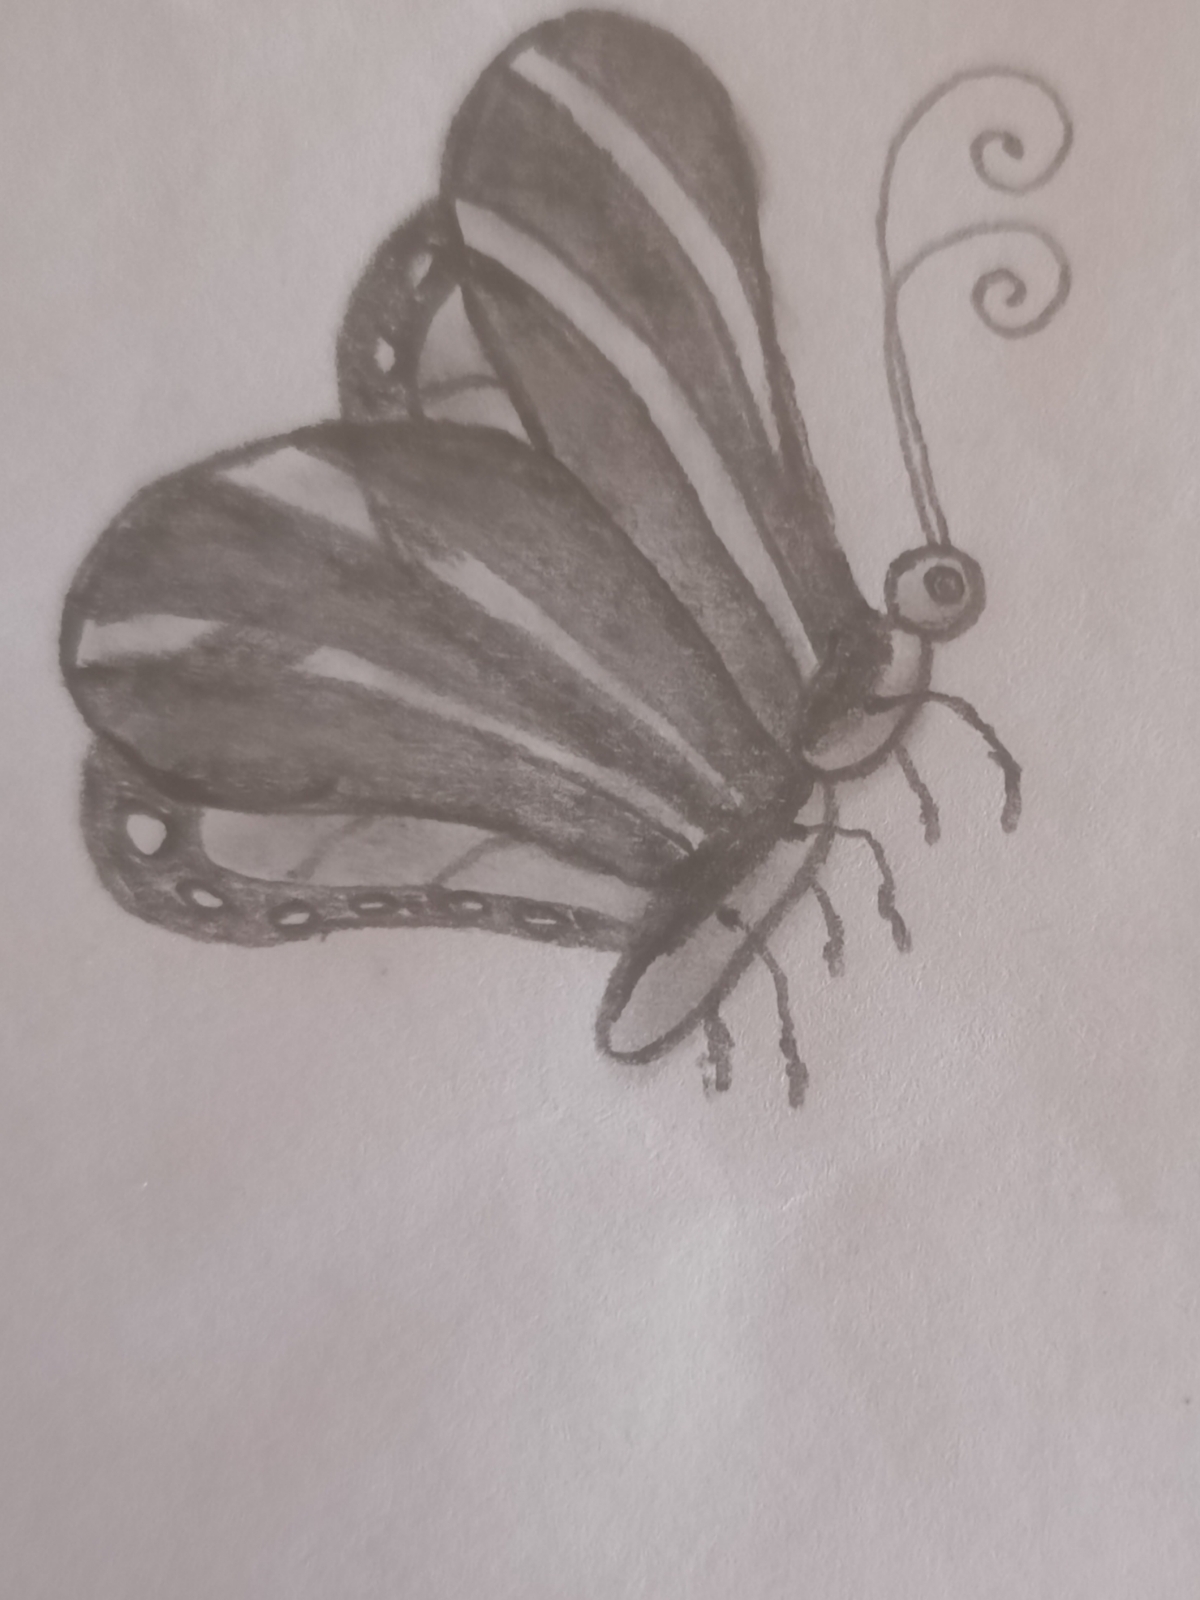
Most of the rear visible wing is covered by the front visible wing. Now, to decorate the remaining part, leave some space on the edges, make arcs like the edges, and make small round circles in this empty space as well as make veins inside the wings as shown in the image below.
Darken the area where the wings join on the neck and belly.
Step-10 Dark the wing margin
Darken the rest of the empty space except for the circular shapes or elliptical shapes on the edges of the butterfly’s rear visible wing.
Alternatively, you can view the picture below to see a visual representation of all the steps -
Congratulations! We've sketched a beautiful butterfly. It's time for your butterfly to fly. I really hope you have thoroughly enjoyed this tutorial. Use the comment box to share your experience with inspirationalthing in this tutorial.


Post A Comment
Post a Comment